This article shows you, How to enable ultimate performance mode (Power plan) in Windows 11 PC. By doing this you can get the maximum level of performance on the capable hardware.
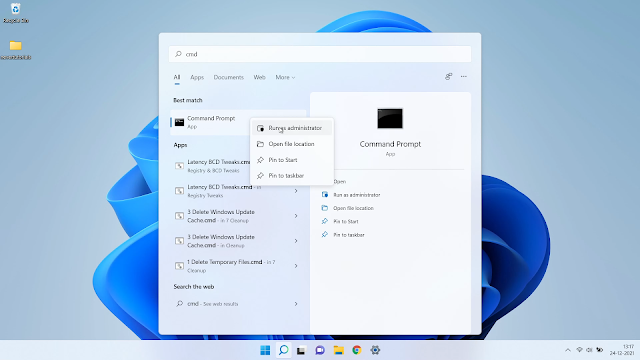
Step 1: Click on the start button and search for cmd (Command Prompt)
Step 2: Right-click on cmd and select "Run as administrator"
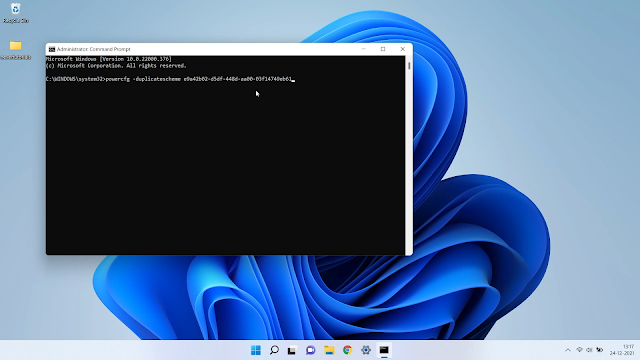
Step 3: Copy the below code and paste it to the command prompt
Ultimate Performance power plan code:
powercfg -duplicatescheme e9a42b02-d5df-448d-aa00-03f14749eb61
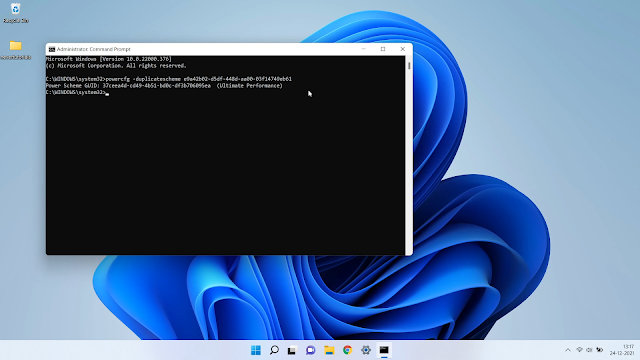
After pressing enter you will see a successful message that displays the confirmation of ultimate performance.
Now, close the windows command window. And let's jump to the next step.
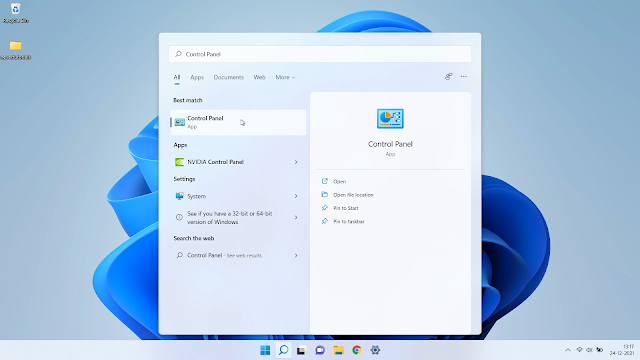
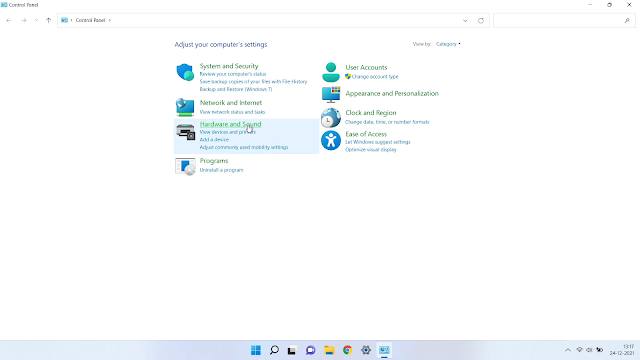
Step 4: Go to Start, search for Control Panel and open it.
Step 5: Click on Hardware and Sound
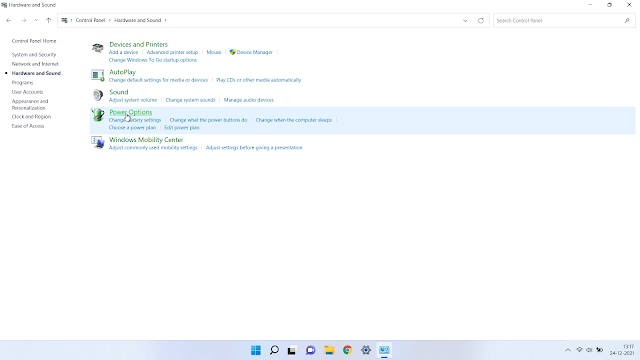
Step 6: Select power options
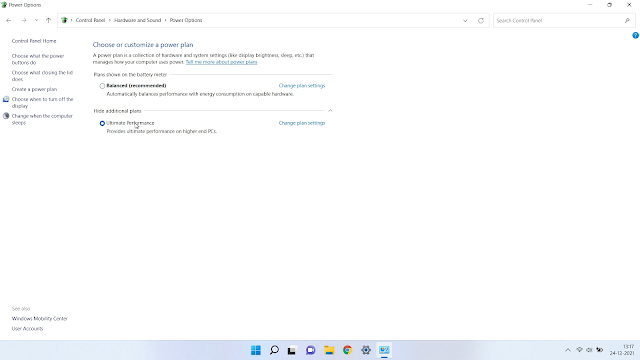
Step 7: Select Ultimate performance just below the Balanced (recommended) power plan option
Finally, the Ultimate performance power plan has been activated on your Windows 11 OS.
Now, let's change some default settings of Ultimate performance
Step 8: To do so click on the Change plan settings from the right side
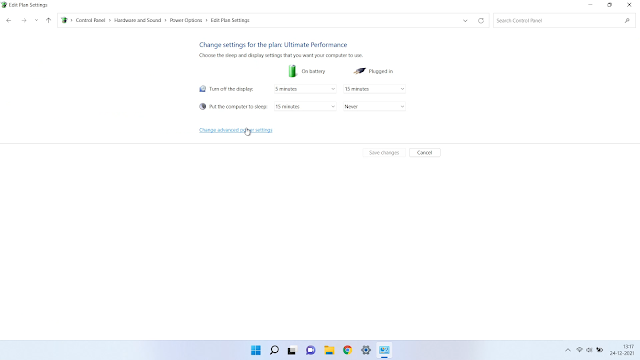
Step 9: Click on Change advanced power option (A window will appear)
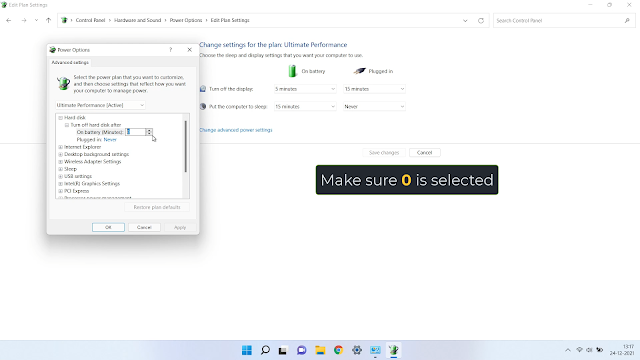
Step 10: Set 0 in the field of Turn off hard disk after: On batter (Minutes): as shown in the below picture
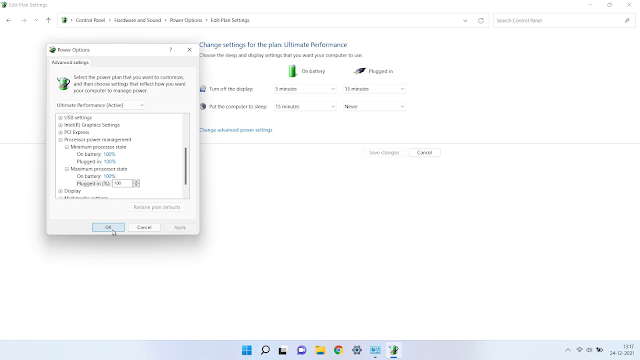
Step 11: Scroll down and find processor power management. set all the sub-option to 100%
Now, Close the windows and you will see the speed difference of your windows 11.


Comments
Post a Comment
If you have any questions, please let me know